
Stitching Machine Setup for Corrugated Carton Lines: STM-1 Configuration Guide
Configuring a stitching machine for corrugated carton production comes down to five linked decisions: the blank envelope the station must accept, the stitch pitch, the stitch count per joint, the stitching speed relative to the rest of the line, and the electrical supply. On the LLY PACK STM-1 semi-automatic double-piece stitcher, those decisions map onto published values: 450 nails per minute, a stitching pitch of 30–140 mm, a stitching count range of 1–99, a voltage choice of 220 V or 380 V, a machine weight of 500 kg and an overall footprint of 4000L × 3300W mm.

This guide is written for plant managers, production engineers and packaging buyers who already know they need a wire-stitching station and now have to set it up so that it feeds and drains the rest of the corrugated cardboard machine line without creating a queue. It stays inside the published STM-1 specification and the verified parameters of the machines that sit around it. Where a number is not published for a machine, this guide says so instead of estimating.
LLY PACK (HK) CO., LIMITED is a Hong Kong-registered manufacturer and supplier of corrugated machinery, with manufacturing operations in Foshan City, Guangdong Province, and a product range covering corrugated lines, single facers, corrugating rolls, double facer belts and converting equipment. The company reports more than 3,500 successful corrugated line installations worldwide and exports to over 40 countries.
Problem Definition: Why the Stitching Station Decides Whether the Line Flows
Stitching is a closing operation, and closing operations sit at the end of a sequence of irreversible steps. A blank has already been corrugated, printed, slotted, die-cut and possibly folded and glued by the time it reaches the stitcher. If the seam does not close correctly, the value already added upstream is lost. That is why stitching problems are rarely experienced as “stitching problems” — they appear as flattened boxes at the stacker, jams at the strapping machine, or a recurring percentage of rejects discovered only at final inspection.
Four failure patterns account for most of the friction at a stitching station:
- Pitch and count set by habit rather than by box size. A pattern carried over from a previous job produces joints that are either too sparse for a large panel or unnecessarily dense on a small one.
- The sheet envelope was never reconciled with upstream equipment. The stitcher receives a blank whose dimensions were determined by the flexo printer or the die cutter, and the operator has no reference for what the station was specified to handle.
- Speed mismatch. A station running at its own pace without reference to the sheets-per-minute rhythm of the printer or the bundles-per-minute rhythm of the strapper builds a buffer that eventually becomes a bottleneck.
- Electrical and layout assumptions made at quotation stage, checked at commissioning. Voltage, footprint and operator access are cheap to plan and expensive to correct.
The remedy is not a better machine. It is a configuration sheet — a written record of how the station is set for each product family — derived from the parameters the machine actually publishes.
Industry Background: Stitching in a More Automated Corrugated Plant
Corrugated converting has been moving toward higher automation levels. According to Future Market Insights, automatic corrugated machines accounted for 55.6% of the global market share by automation level as of 2026. That figure describes the direction of equipment purchasing rather than the disappearance of semi-automatic stations: semi-automatic units remain in service wherever product mix changes frequently, where volumes do not justify a fully integrated line, or where a specific closure — such as wire stitching on heavy or double-piece boxes — is required by the customer.
Wire stitching and adhesive bonding are not rivals in a quality hierarchy. They solve different production problems. Folder-gluer seams suit high-volume, small-to-medium box formats where a continuous folding and gluing rhythm is available. Wire stitching suits panels that are too large, too heavy, or too irregular in board grade for a glued seam to be dependable, and it suits double-piece construction, where two separate panels are joined into one box. Strapping and bundling then handle unit formation downstream of either method.
Practically, this means a stitching station is configured twice: once on paper, against the sheet envelopes of the machines around it, and once on the floor, against the actual product mix. Both passes need a fixed reference point, and the machine specification is the only reliable one.
Detailed Solution: The STM-1 Configuration Map
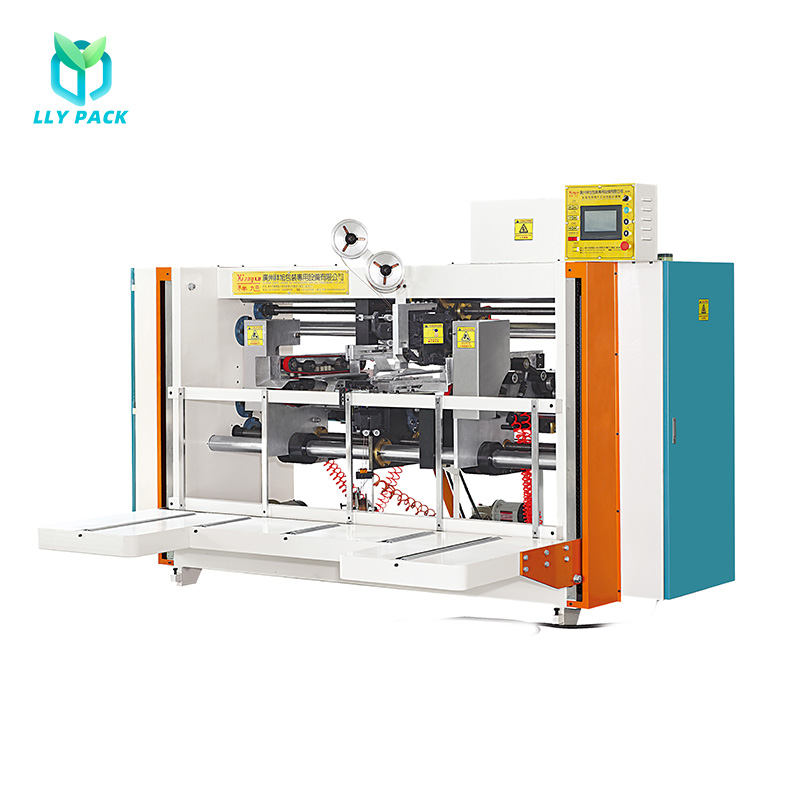
The STM-1 is specified as a semi-automatic double-piece stitcher machine, built from steel, for the corrugated carton packaging industry. Its published parameters are few, which is an advantage: every setting that matters for production planning is on the list.
| Parameter | Published value (STM-1) | What it controls on the floor |
|---|---|---|
| Machine type | Semi-automatic double-piece stitcher | Whether two separate panels can be joined into a single box in one pass |
| Stitching speed | 450 nails/min | Station rhythm relative to upstream sheets per minute and downstream bundles per minute |
| Stitching pitch | 30–140 mm | Spacing between adjacent stitches along the joint |
| Number of stitching | 1–99 | Total stitch count available for a joint or a job pattern |
| Voltage | 220 V / 380 V | Electrical supply planning and plant compatibility |
| Weight | 500 kg | Floor loading, positioning and relocation planning |
| Dimensions (L × W) | 4000L × 3300W mm | Footprint, operator access, blank in-feed and box out-feed space |
| Material | Steel | Frame rigidity and stability during repeated stitching cycles |
The parameter with the largest effect on throughput is the 450 nails/min stitching speed. Read it as a capability ceiling, not a production target: the actual output of the station is set by how fast an operator can load and unload, and by how the station is balanced against the machines on either side. The parameter with the largest effect on box quality is the 30–140 mm pitch range, because it decides how the load is distributed along the joint.
Step-by-Step: Configuring the Station in Six Steps
Step 1 — Fix the blank envelope before touching any stitcher setting
Configuration starts upstream. The stitcher can only close a blank that the rest of the line has produced, so the first task is to write down the sheet envelope each neighbouring machine publishes and confirm that the intended product range sits inside the overlap.
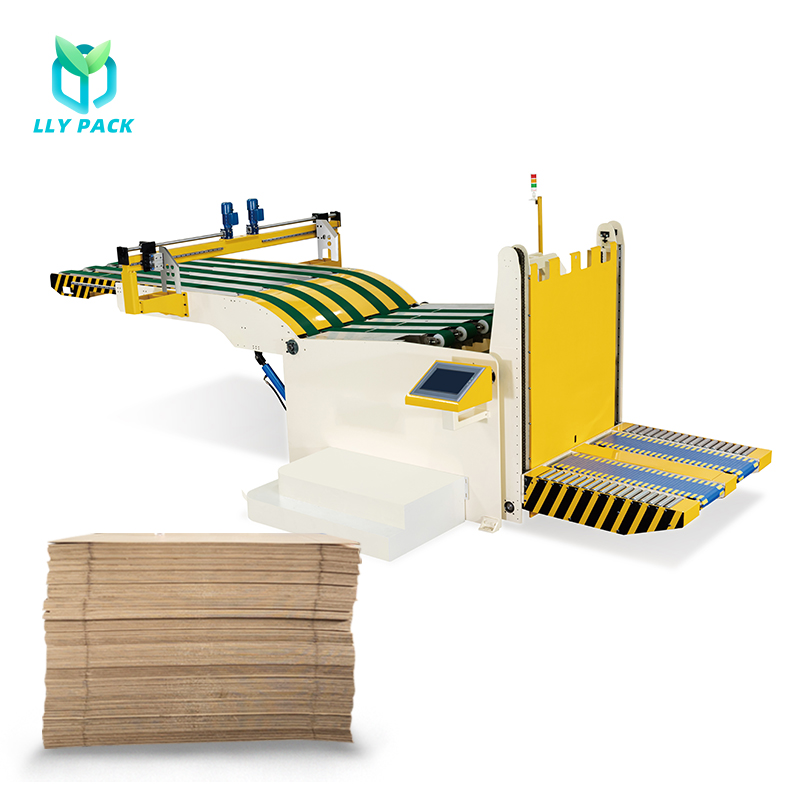
- Pre feeder PF-1: maximum sheet size 1600 × 3000 mm, minimum sheet size 300 × 600 mm.
- Flexo printer FP-1: maximum feed size 1600 × 3600 mm, minimum feed size 200 × 435 mm.
- Slotter Die cutter SDC-1: maximum paper size 1100 × 1600 mm, minimum paper size 450 × 600 mm.
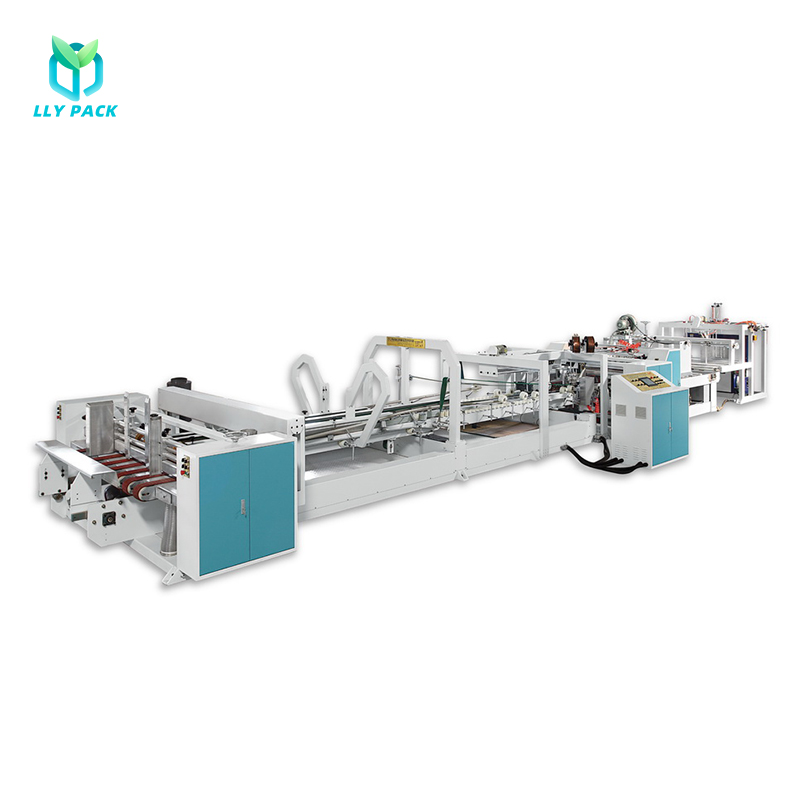
- Folder gluer FG-1: maximum size 1200 × 2600 mm, minimum size 300 × 750 mm.
The 1600 × 3000 mm maximum and 300 × 600 mm minimum figures are the verified sheet-size envelope of the LLY PACK pre-feeder; the STM-1 specification itself is published with a 4000L × 3300W mm machine footprint rather than a separate sheet-size window. The practical rule is therefore to specify the stitching station against the envelope of the machine feeding it. If the largest blank in the product mix is a 1600 × 3000 mm sheet coming off the PF-1, the stitching station’s in-feed and out-feed clearances, operator position and support tables must be planned around that blank, not around a typical mailer box.
Translate the sheet into a box before proceeding. For a regular slotted container, the blank length is roughly twice the box width plus the glue or stitch flap, and the blank width is the box height plus the depth of both major flaps. Compare that blank figure — not the finished box size — against the envelope list above. This single conversion prevents most “the box will not fit the machine” discoveries at commissioning.
Step 2 — Convert box size into a stitch pitch inside the 30–140 mm range
The STM-1 accepts a stitching pitch from 30 mm to 140 mm. Pitch is the distance between adjacent stitches along the joint, and it is the setting that determines how the closing load is distributed.
Three rules hold across carton types:
- Longer joints need wider spacing. A tall box with a long vertical joint tolerates a pitch toward the upper part of the 30–140 mm range, because the load is spread over more board.
- Small boxes and short joints need denser spacing. Where the joint is only a few centimetres long, a wide pitch can leave too few stitches to hold the seam; move toward the lower end of the range.
- Heavier board and thicker flutes push toward the lower end. The same joint length on a heavier board benefits from more stitch points, because each individual stitch has to carry more board stiffness.
Write the chosen pitch into the job sheet next to the box code. The failure mode this prevents is the operator carrying a pitch setting from a previous job into a new one — a change that produces no immediate alarm but shows up as seam failure in transit.
Step 3 — Set the stitching count against the joint, not against the box
The STM-1 supports a stitching count from 1 to 99. Count and pitch are related but not identical: pitch sets the spacing, count sets the total number of stitches. In practice, the operator fixes the count first from the joint length and the box weight, then verifies that the resulting spacing falls inside the 30–140 mm window.
For double-piece work, the count must be planned across the joining seam between the two panels rather than along a single panel edge — that seam carries the entire structural load of the assembled box. This is the single most important configuration decision on this machine type, and it is the reason the STM-1 is specified as a double-piece stitcher rather than a single-panel unit.
Step 4 — Balance 450 nails/min against the real line rhythm
At 450 nails per minute, the stitching head is not the constraint in most carton plants. The constraint is handling: loading a blank, positioning it, running the stitch pattern, and removing the closed box. The useful exercise is to calculate the station’s realistic output from handling time, then compare it with the rhythm of the machines on both sides.
| Line position | Model | Verified throughput parameter |
|---|---|---|
| Sheet feeding | Pre feeder PF-1 | Maximum paper feed speed 280 sheets/min |
| Printing / slotting | Flexo printer FP-1 | Maximum equipment speed 350 sheets/min |
| Die cutting | Slotter Die cutter SDC-1 | Maximum die cutting speed 5,000 i.p.h. |
| Closing | Stitching machine STM-1 | 450 nails/min |
| Bundling | Strapping Machine SM-1 | 35 bundles/min (single strap), 21 bundles/min (double straps) |
The numbers in this table are not directly comparable — sheets per minute, impressions per hour, nails per minute and bundles per minute measure different things. Their value is directional: they show where a semi-automatic closing station will sit relative to a high-speed converting line, and therefore how much buffer stock the stitching area needs.
Two practical conclusions follow. First, where the printer runs at a multiple of the stitching station’s realistic output, the station should be planned with a defined buffer rather than treated as a continuous-flow element. Second, stitch count per box should be kept to what the joint actually requires; each additional stitch extends the cycle, and on a semi-automatic station the cycle time, not the head speed, sets output.
Step 5 — Register the second piece on double-piece work
Double-piece construction joins two panels into one box. Configuration here differs from single-panel stitching in one respect: the reference edge is not the panel edge but the overlap seam. Before a run starts, confirm that the overlap is consistent across the batch — a variable overlap produces a stitch line that wanders, and no pitch or count setting can compensate for it.
Sequence the run so that the first few boxes are checked for seam alignment and stitch penetration before the batch continues. This is faster than reworking a finished stack, and it protects the downstream bundling step: a folded or mis-registered box will jam a strapping machine regardless of how well that machine is configured.
Step 6 — Lock the electrical supply and floor layout
The STM-1 is published with a voltage choice of 220 V or 380 V. Confirm the plant supply against the ordered configuration before shipment, not at commissioning. Voltage rework is a delivery-date issue, not a technical curiosity.
Layout planning uses the published 4000L × 3300W mm footprint and the 500 kg machine weight. Reserve clear space for three activities: blank in-feed from the previous operation, operator standing and turning room at the stitching head, and out-feed toward bundling or strapping. On a 3,300 mm width, the difference between a station that flows and one that stalls is usually the out-feed table, not the machine itself.
Use Cases: Four Configurations That Cover Most Plants
Export and heavy-duty shipping cartons
Heavy board, long joints and a requirement that the box survive stacking and handling. Configuration direction: stitch count set from joint length and board weight, pitch toward the lower part of the 30–140 mm range, and a first-article check on seam penetration before the batch runs. The 450 nails/min head speed is more than sufficient; the discipline required is in the pattern, not the pace.
Double-piece large panels
This is the STM-1’s specified use case. Configuration direction: plan the stitch pattern across the joining seam, verify overlap consistency across the batch, and treat the first three boxes as a registration check. Where the blank originates from a PF-1 running sheets up to 1600 × 3000 mm, confirm the station’s in-feed clearance before the first production run rather than during it.
High-mix, short-run job shops
Frequent changeovers, small batches and many box codes. Configuration direction: pre-populate the job sheet with pitch and stitch count for the top product families, so changeover is a lookup rather than a recalculation. The 1–99 stitch count range covers small mailers and large panels on the same machine; the risk in this environment is not capability but consistency between operators.
A stitching station inside an automated converting line
Where the station sits downstream of a pre-feeder, flexo printer and die cutter, and upstream of a strapping machine, its role is buffered closure rather than continuous flow. Configuration direction: size the buffer from the gap between upstream sheets per minute and the station’s handling-limited output, and keep stitch count to the minimum the joint requires so the cycle stays short.
Comparison Table: Closure Routes and Their Published Parameters
The table below compares three closing and unit-forming routes using only published LLY PACK parameters. It is a configuration aid, not a ranking: each route solves a different production problem.
| Route | Unit | Published parameters | Where it fits best |
|---|---|---|---|
| Wire stitching | Stitching machine STM-1 | Semi-automatic double-piece stitcher; 450 nails/min; pitch 30–140 mm; stitching count 1–99; voltage 220 V / 380 V; 500 kg; 4000L × 3300W mm | Double-piece boxes, heavy or large panels, joints where a glued seam is not dependable |
| Adhesive folding | Folder gluer FG-1 | Maximum gluing speed 110 m/min; sizes 300 × 750 mm to 1200 × 2600 mm; suction belt feeding; motor power 16 kW | High-volume small and medium box formats where a continuous folding rhythm exists |
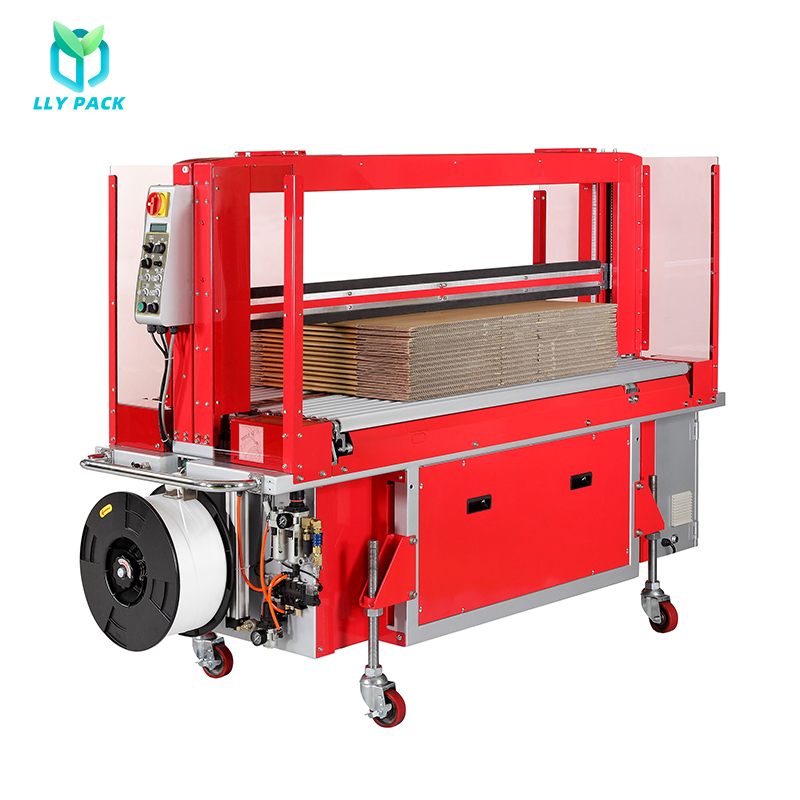
| Strapping / bundling | Strapping Machine SM-1 | 35 bundles/min single strap; 21 bundles/min double strap; band width 5 mm; minimum bundle 200 W × 20 H × 300 L mm; max bundle weight 40 kg | Unit formation after the box is closed by stitching or gluing |
Two configuration notes follow from the table. First, stitching and gluing are alternative closing routes, and the choice is driven by box construction rather than by speed alone — a 110 m/min gluing speed is irrelevant to a double-piece panel that a folder gluer cannot process. Second, strapping is downstream of both: its 40 kg maximum bundle weight sets an upper bound on how many closed boxes can be handled as one unit, which in turn affects how the stitching station’s out-feed should be planned.
FAQ
What power supply does the STM-1 stitching machine require, and what must be confirmed before ordering?
The STM-1 is published with a voltage option of 220 V or 380 V. The configuration must be fixed at order stage against the plant’s actual supply, and confirmed again before commissioning. Two further specification items belong in the same check: the machine is built from steel and weighs 500 kg, so floor loading and positioning should be reviewed together with the electrical supply, and the footprint of 4000L × 3300W mm should be verified against available floor space and access routes.
What stitch pitch, stitch count and speed can be set on the STM-1?
The STM-1 publishes a stitching pitch range of 30–140 mm, a stitching count range of 1–99, and a stitching speed of 450 nails per minute. Pitch sets the spacing between stitches along a joint; count sets the total number of stitches for the pattern. In configuration practice, the count is derived from joint length and board weight first, and the resulting spacing is then checked against the 30–140 mm pitch window. As a semi-automatic double-piece stitcher, the machine also supports joining two panels into a single box.
What drives the budget for a stitching station configuration?
Budget approval should be based on a written quotation that states the delivered configuration: the selected voltage (220 V or 380 V), the stitch pattern requirements for your product range, the footprint and layout implications of the 4000L × 3300W mm machine, and the auxiliary handling needed at in-feed and out-feed. The published STM-1 specification does not include a price, so any figure used for budgeting should come from a quotation referencing your actual box mix rather than from a generic number.
How should stitching be validated on our own board before a full production run?
Validation should use blanks from your own board grades, not sample board supplied for the trial. Run the intended pitch and stitch count for each of your main product families, then check seam alignment on double-piece work, stitch penetration through the board, and consistency across a short run rather than a single box. Because the STM-1 works from a 1–99 stitch count and a 30–140 mm pitch range, the output of the trial is a written job sheet per product family — pitch, count and handling notes — that operators can follow after installation.
How should lead time and installation be planned?
Lead time is not part of the published STM-1 specification, so it should be fixed in the order documentation together with delivery and commissioning responsibilities. On site, plan three preparation items in advance: the electrical supply matching the ordered 220 V or 380 V configuration, floor space for the 4000L × 3300W mm footprint with clearance at in-feed and out-feed, and a handling plan for a 500 kg machine. Sequencing the station against the surrounding equipment — pre-feeder, printer, die cutter and strapping machine — should happen before delivery, not during commissioning.
Next step: configure the station against your own box mix
Send LLY PACK a short list of your box codes with blank sizes, board grades and monthly volumes, plus your plant voltage and available floor area. The team can then map the STM-1 settings — pitch, stitch count and double-piece registration — against your actual product families.
Email: christina@lycorrugated.com | WhatsApp: +86 13763260555 | Website: www.llypack.com
Download the LLY PACK product catalogue (PDF) for the full machine list and published specifications.
Conclusion
A stitching station configured well is unremarkable: boxes close, seams hold, and the station neither starves nor floods the machines around it. Achieving that on the STM-1 requires no more than a disciplined sequence — reconcile the blank envelope with the pre-feeder, printer, die cutter and folder gluer; set pitch inside the 30–140 mm range from joint length and board weight; set stitch count inside the 1–99 range from the joint rather than the box; balance the 450 nails/min head against handling-limited output; register the second piece on double-piece work; and confirm the 220 V or 380 V supply and the 4000L × 3300W mm footprint before delivery.
Written down per product family, those six decisions become a configuration record that survives shift changes and staff turnover. Machines do not drift; settings do. A job sheet built from published parameters is the cheapest control available on a semi-automatic station — and the one most often skipped.
Have Questions or Need More Details?
Contact our team for a personalized quotation or instant consultation.
Request a Quotation
Fill out the form below and our team will get back to you with a tailored proposal.
WhatsApp Direct Chat
Prefer to chat in real-time? Message us on WhatsApp for instant assistance & quick answers.
- Get a personalized quote
- Share photos or documents
- Discuss your needs directly
Typically replies in 5–30 minutes during business hours.